Make-Up Your Mitts
Download the Mitts Tutorial pdf
Making up your mitts can be a quick and easy project! They can be entirely hand-stitched, or some seams can be done on a machine with hand stitching for a few necessary parts. After sewing a few, it takes me roughtly two hours per mitt to make them by hand- though I am admittedly not the fastest seamster out there either.
I cannot profess that this is a perfectly historically accurate way to sew your mitts, it's just the way that I do them based on the various sets of pattern instructions that I've read and a class that I've taken. But let's dive in!
Our mitt embroidery is 'unmade up', which means that when it arrives from our house to yours, the fabric is uncut. It has been pre-washed before embroidering so you don't necessarily need to, though can if you prefer. We generally remove the stabilizer from the back before shipping, but you may still find a few bits in the nooks and crannies. It's a tear-away, so there's no problem pulling it out if it bothers you. A pin can be useful for snagging the tiniest bits out.
To prepare to sew, make sure that your mitt pattern fits you. If you haven't made mitts before a quick mockup is very essential for a good fit.
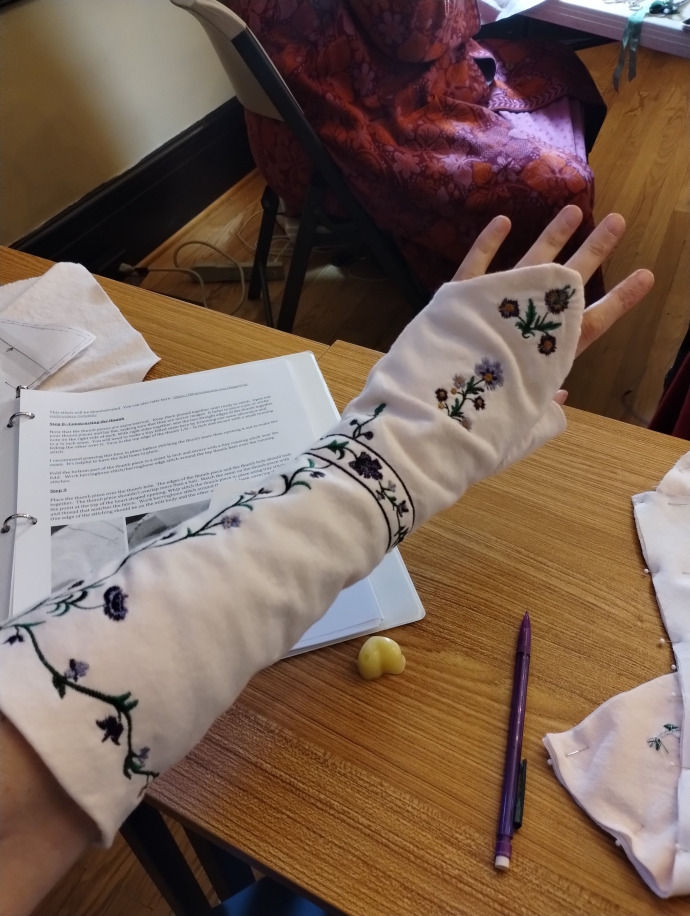
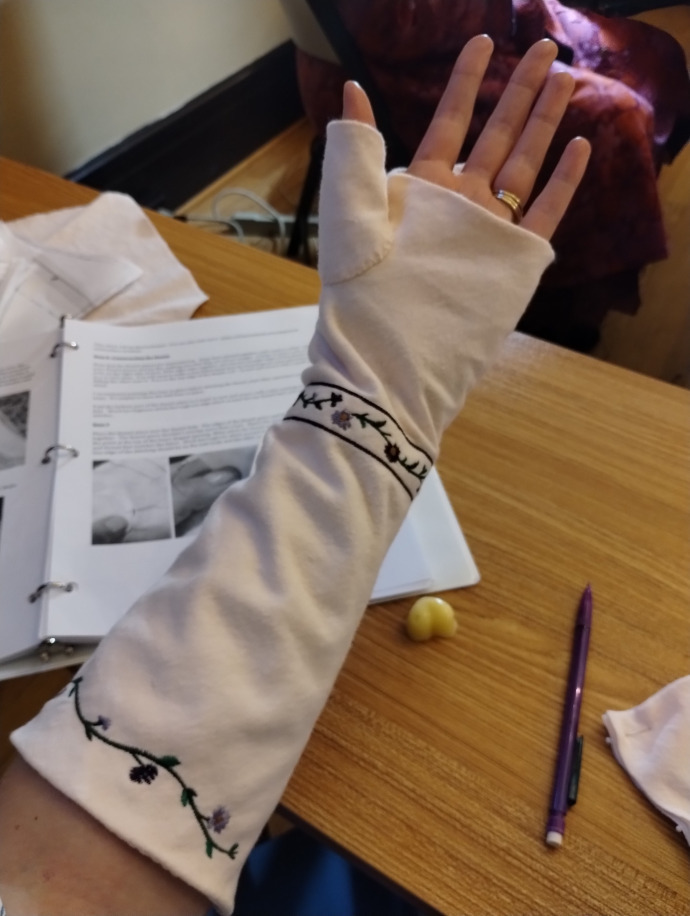
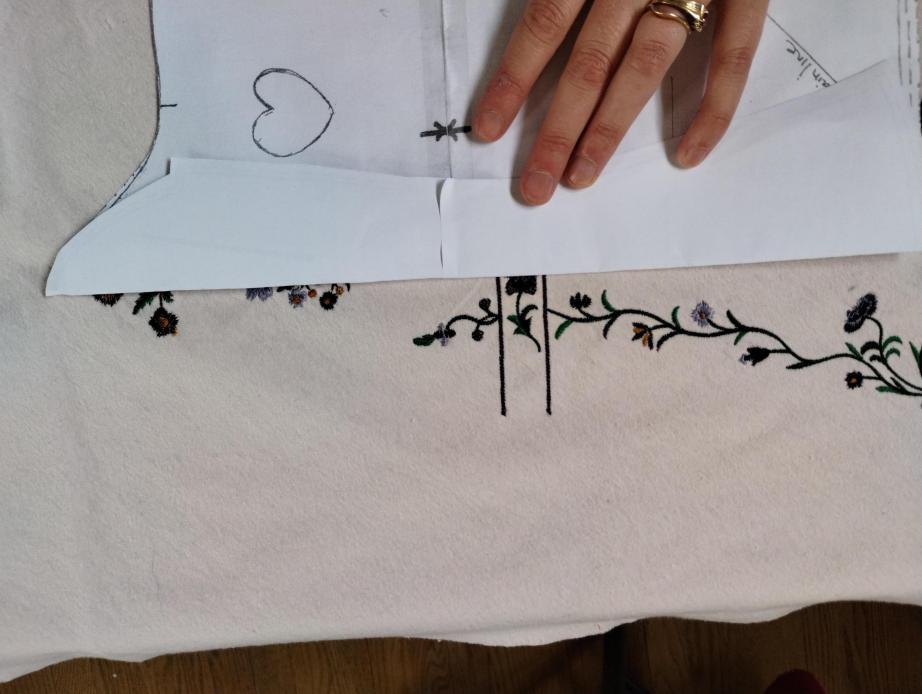
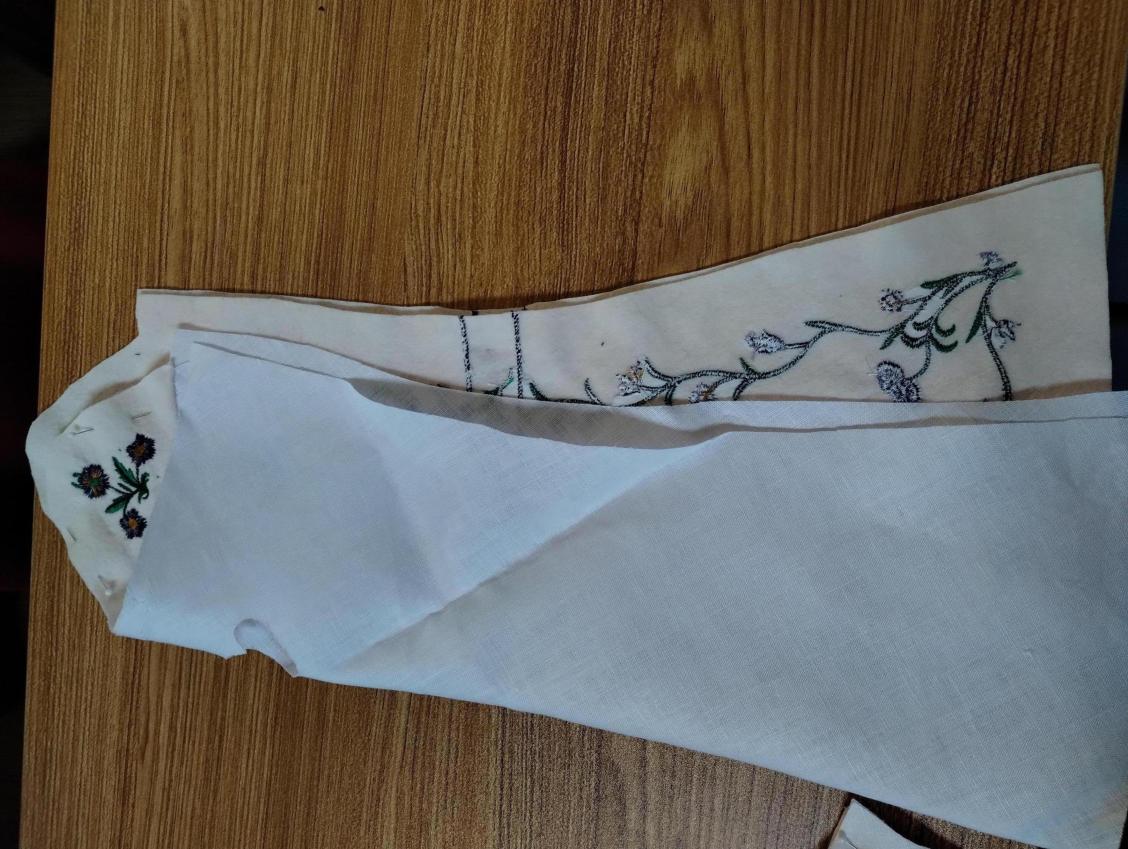
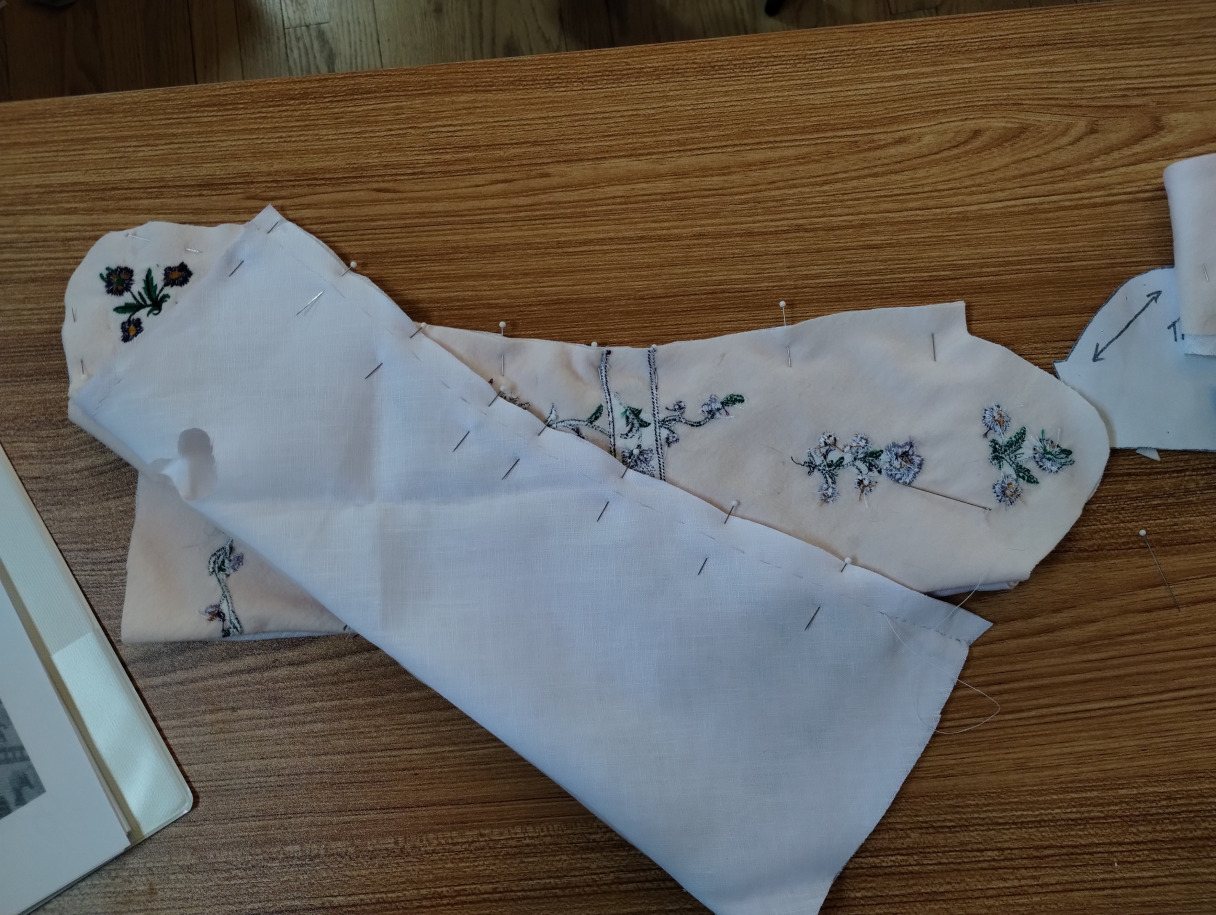
Align your fitted pattern over the embroidery. The narrowest part of your mitt pattern, or wristline, should be placed where the two parallel embroidered lines run.
On the embroidery, there's ~7" from the wrist to the bottom of the mitt. This pattern is a bit short, so I'm cutting the length to fit the embroidery. Do not automatically align your pattern to the bottom of the embroidery.
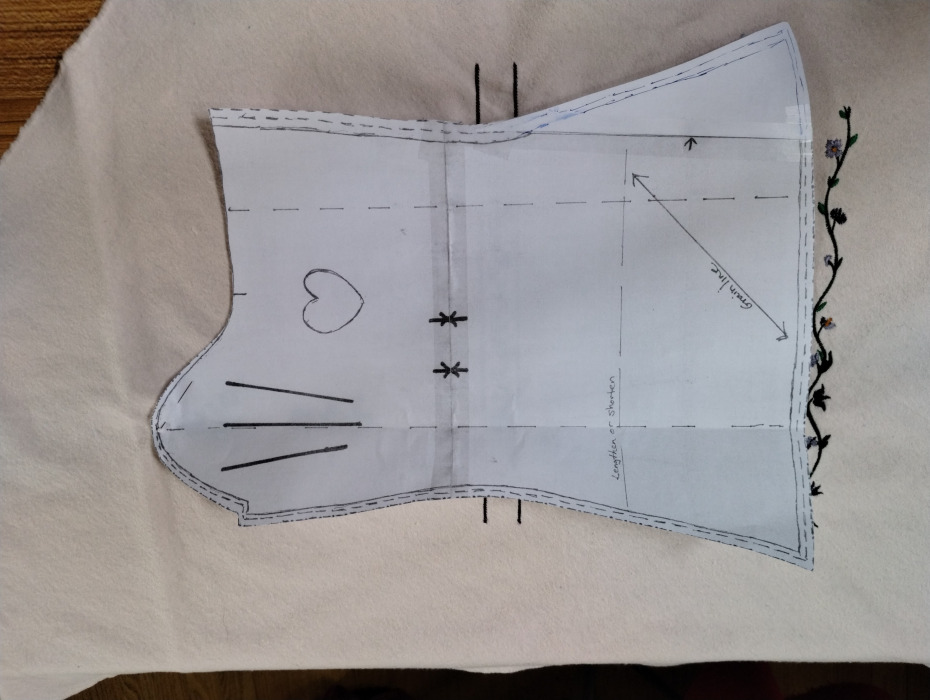
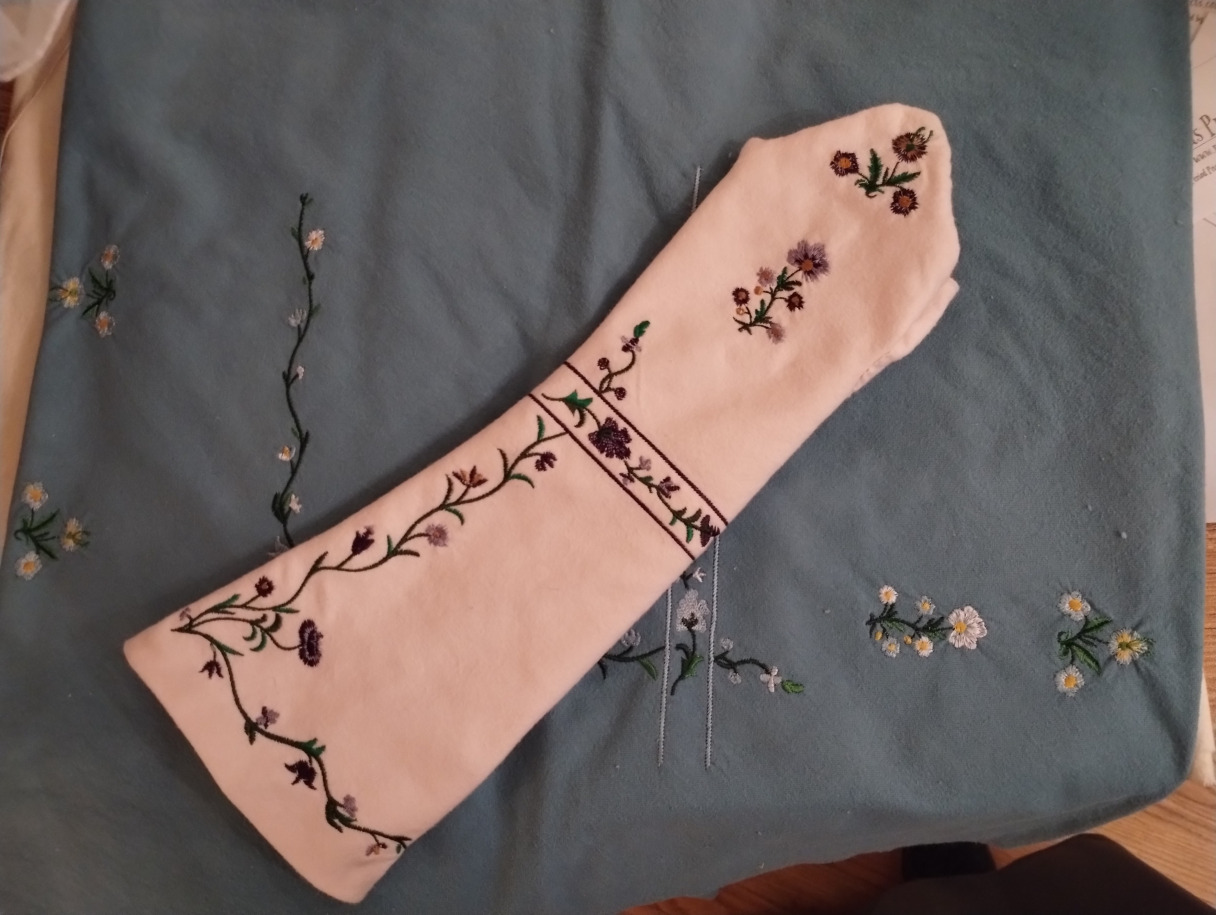
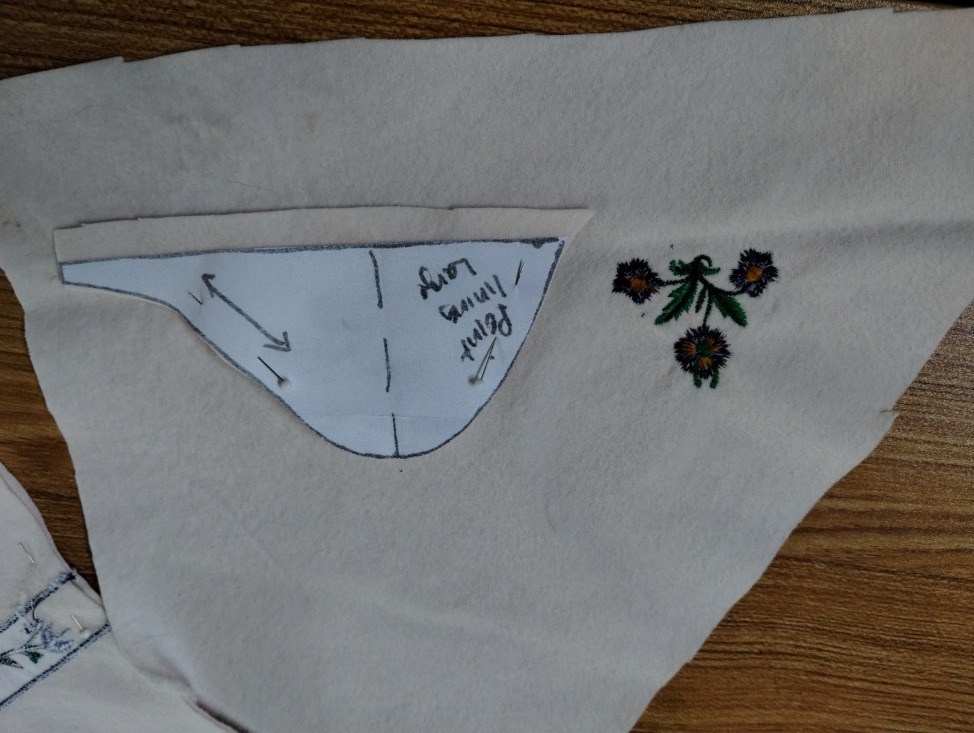
Make sure that the motifs that go over the back of the hand and fingertips are aligned and centered with the pattern. The extra two motifs are for lining the fingertip flaps, and they should be centered appropriately.
Cut out all your pattern pieces and don't forget to cut your lining on the bias!
Special Note: If you don't have room for 7" of embroidery between your wrist and elbow, please contact me and I will modify the design to a shorter length! I will happily do it for no extra charge, I just haven't had a reason to make the edits yet.
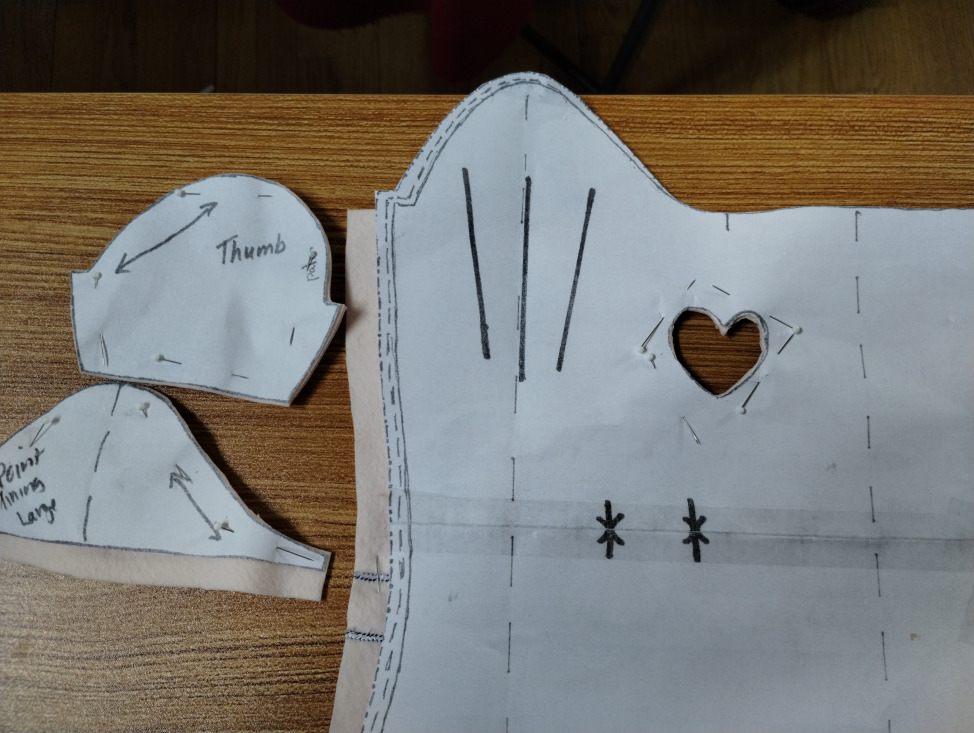
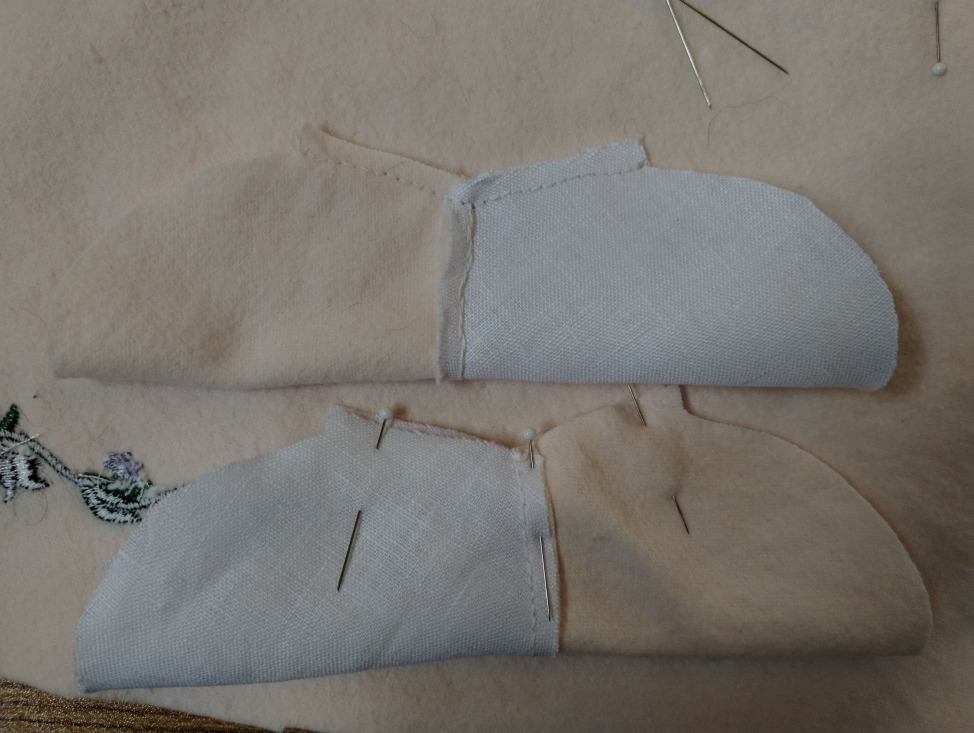
Make sure you have all your pieces cut out, including the thumbs! The thumb patterns DO have a right and a left, so keep track of those. I find it helpful to immediately pin
the side seams together after cutting so I don't accidentally sew two left thumbs in the next steps. Start by sewing the embroidered finger tip lining to the lining . Fold under the seam allowance and stitch it down with small stitches.
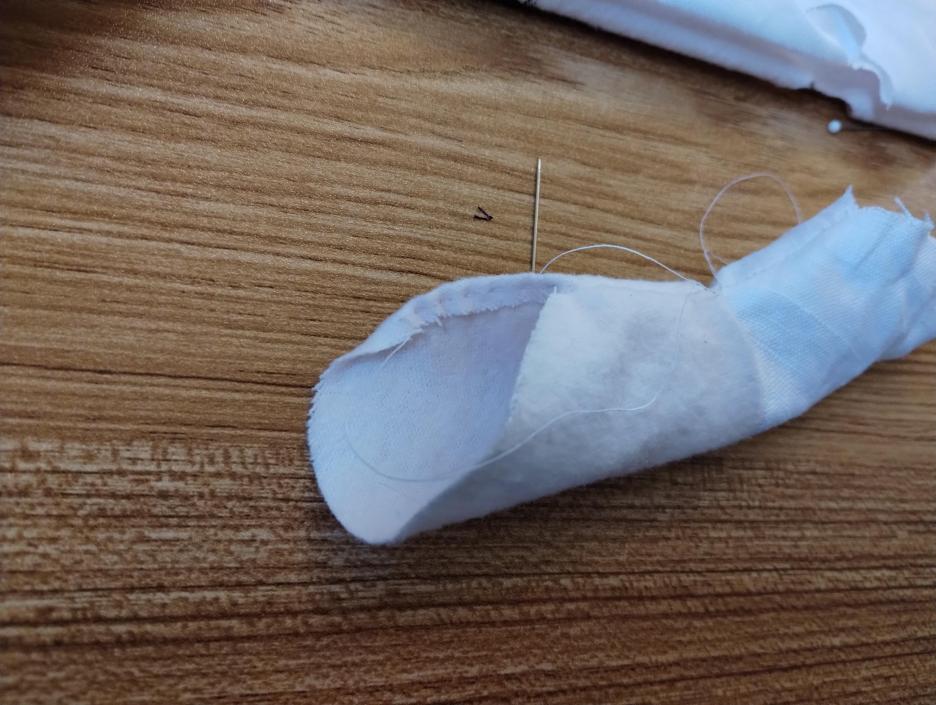
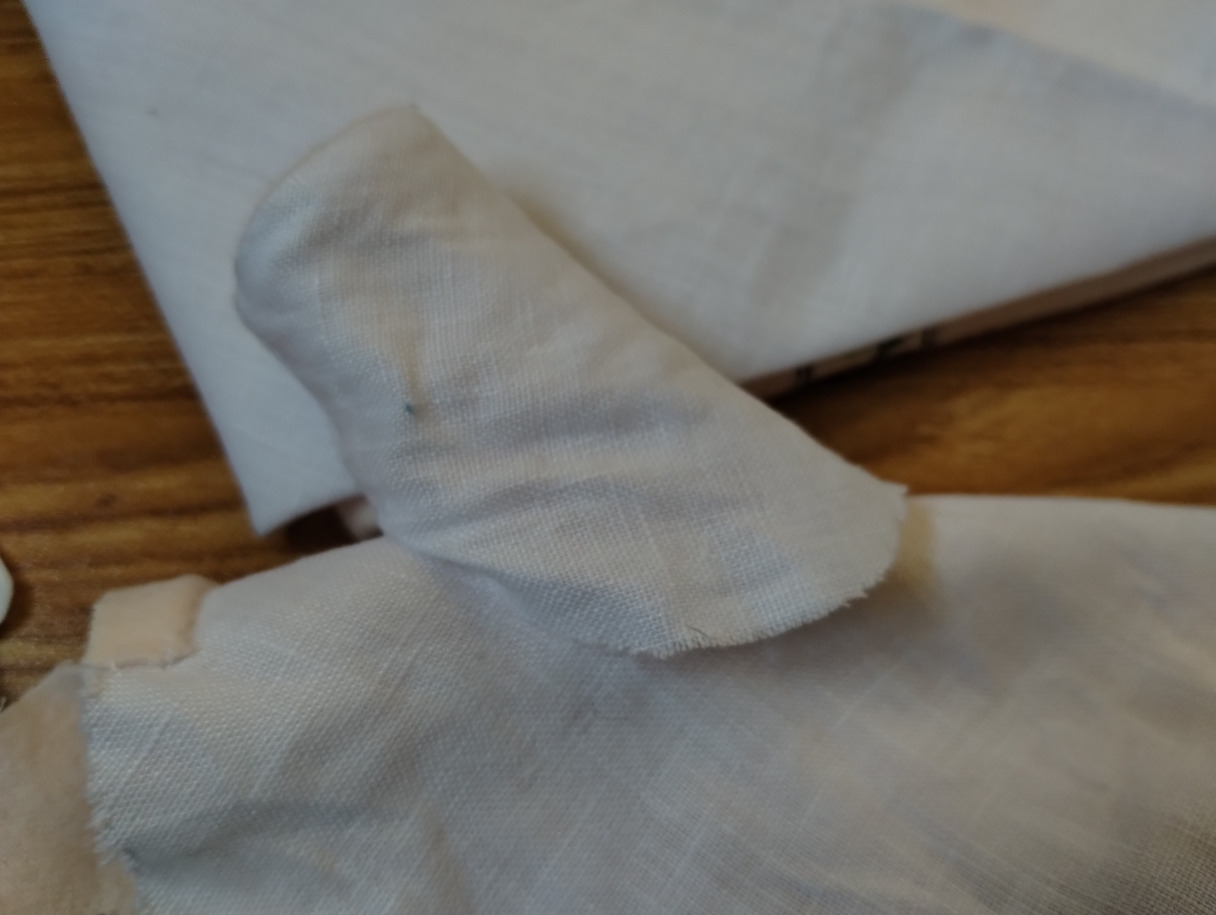
For the thumbs, sew the side seams, and the top of the finger tip. Next, hem the fashion fabric of the thumb. Fold it over once, the smallest amount you can manage and sew it down with a simple running stitch.
Once those seams are done, set it aside.
Sewing the side seams can be done a couple ways. The simplest is to seam your fashion fabric and the lining separately, then sew the lining into the mitt in the usual fashion. You can also sew both side seams all at once. For both the mitts and the lining, fold the outer (pretty) sides together. Remember that this matters on the lining too since it has the embroidered fingertip piece. Then align lining and fashion fabric so the sides with the fingertips are together in the middle. Sew through all four layers, leaving enough space at the top and bottom to turn the seam allowances in when hemming.
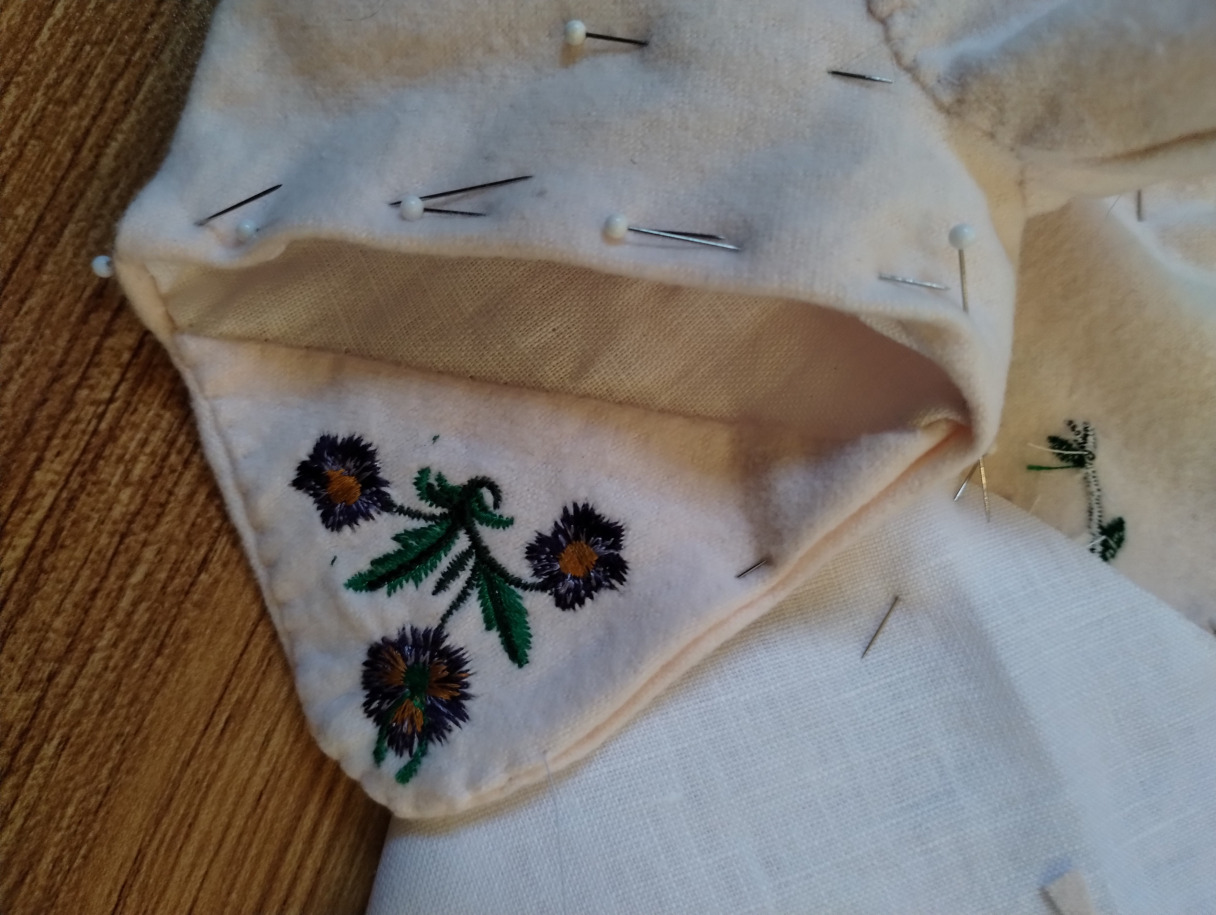
Turn the hems in at the bottom and top of the mitts and stitch them together! Turning the hem tight curves around fingertip flaps can be tricky, clip the seam allowances as necessary.
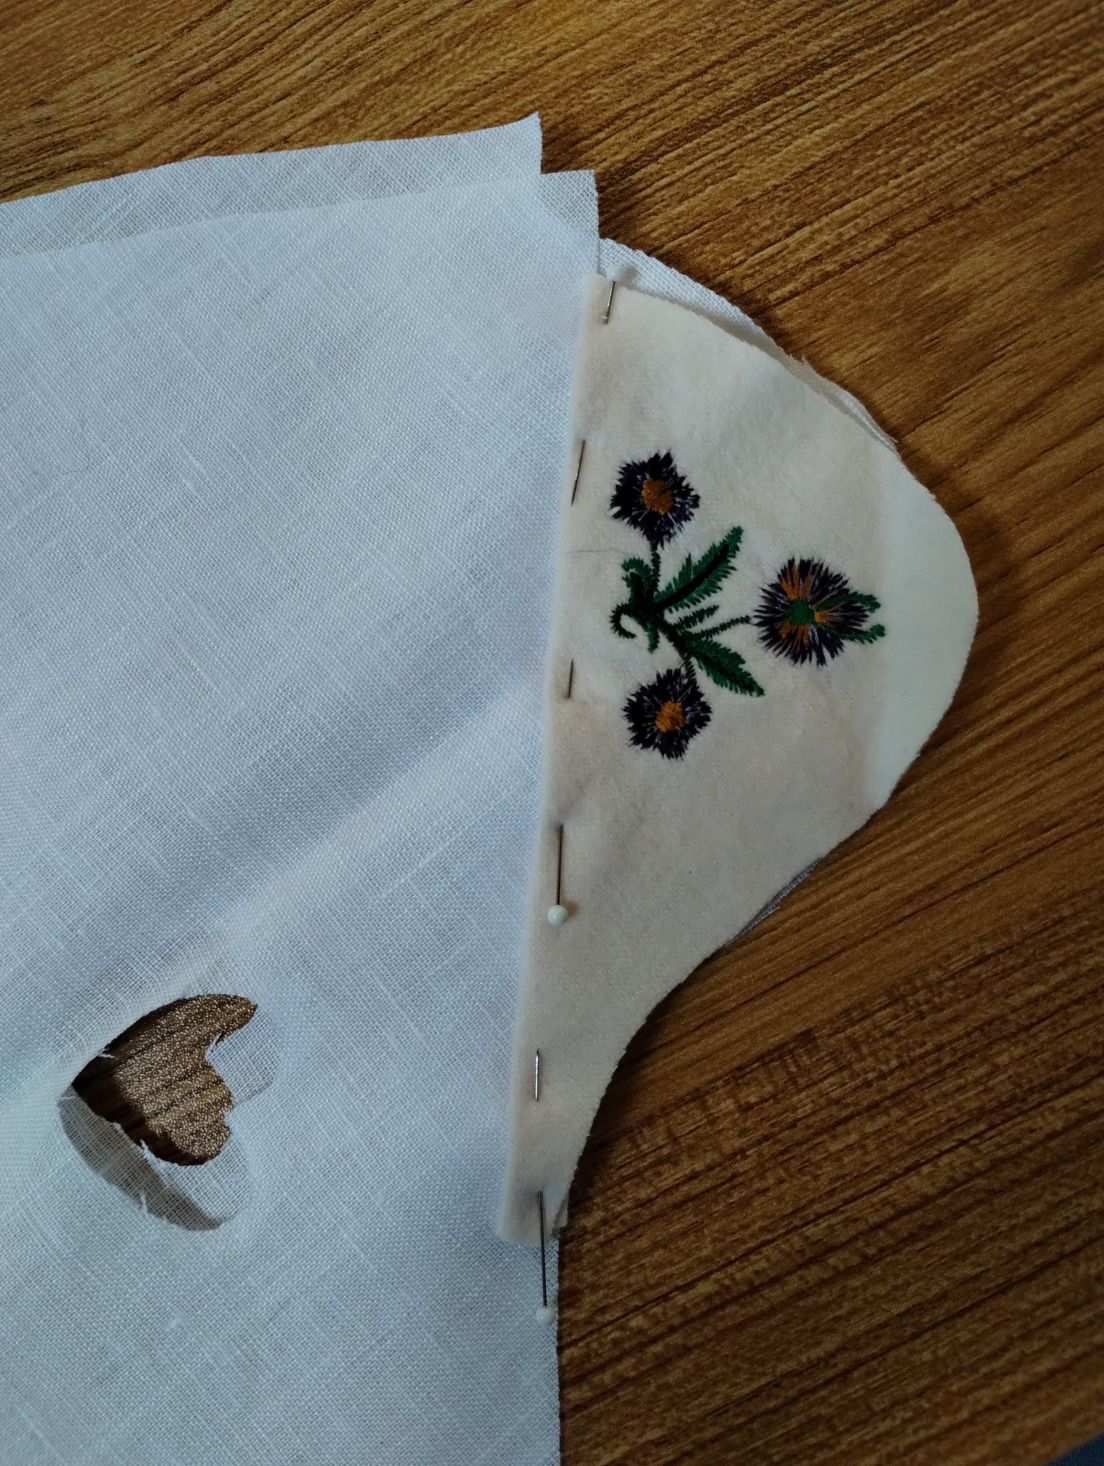
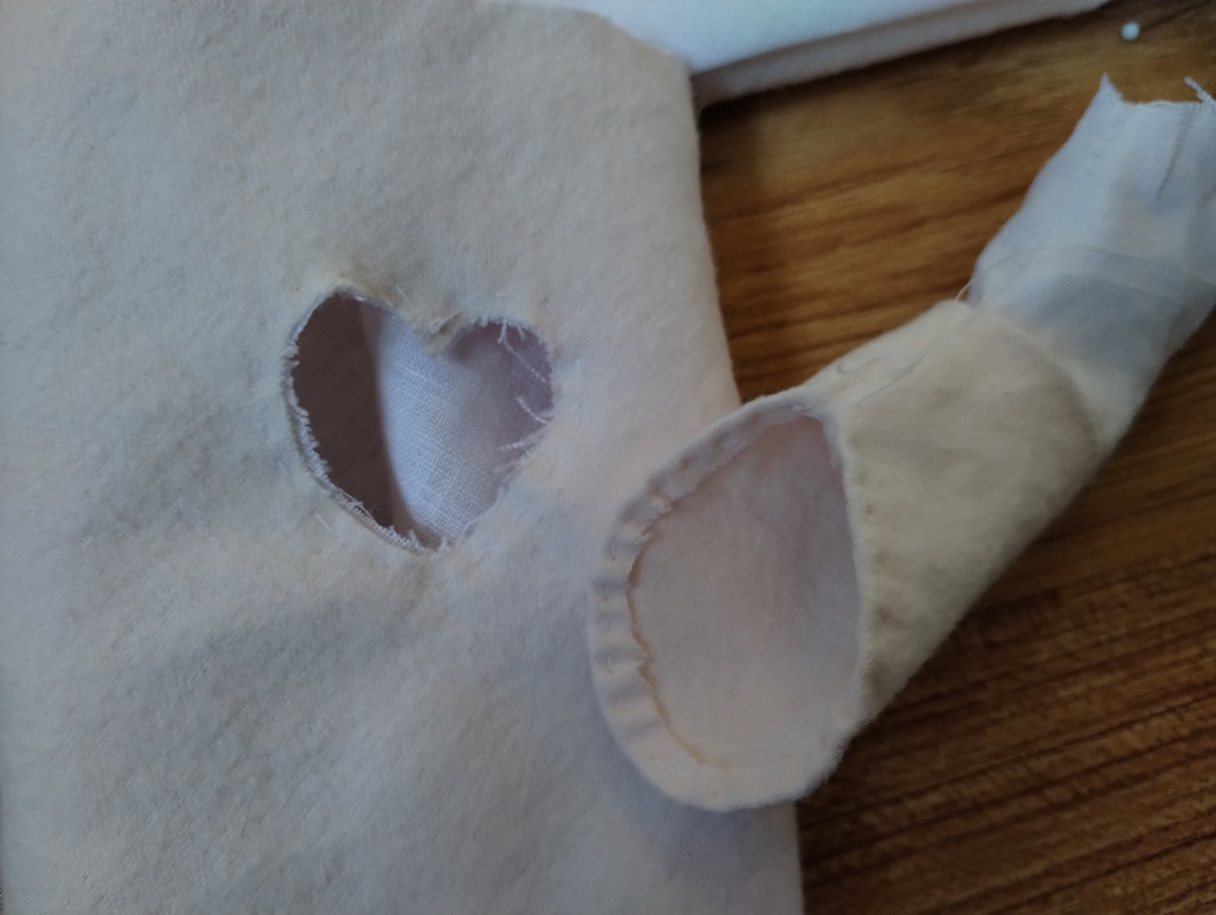
Attaching the thumb can be tricky.
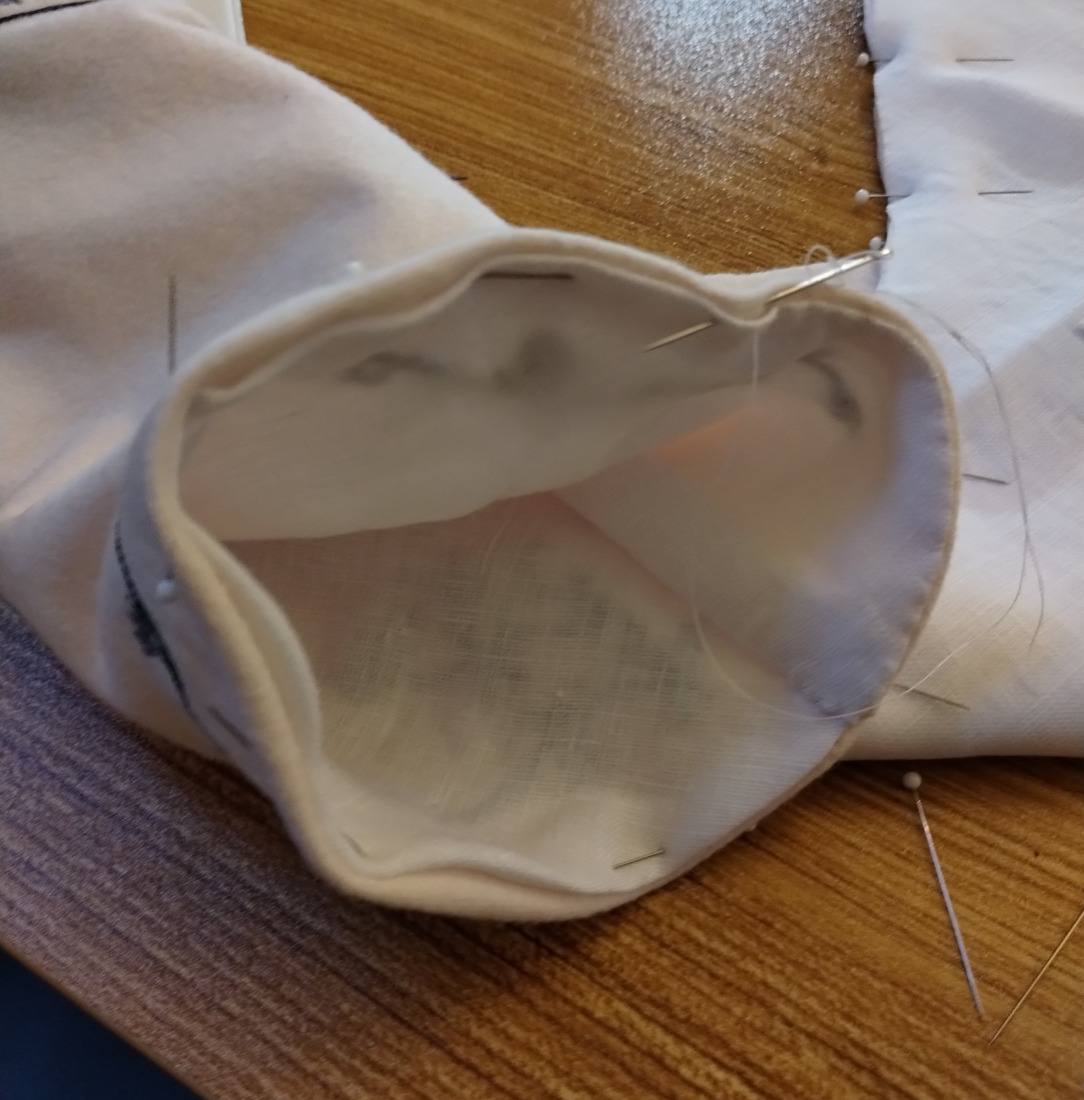
Baste the fashion fabric and lining together around the heart shaped thumb- hole, about 1/8" from the edge. The point of the heart is where the seam of the thumb should meet. You should be able to match the finished edge of the thumb with the line of basting around the heart.
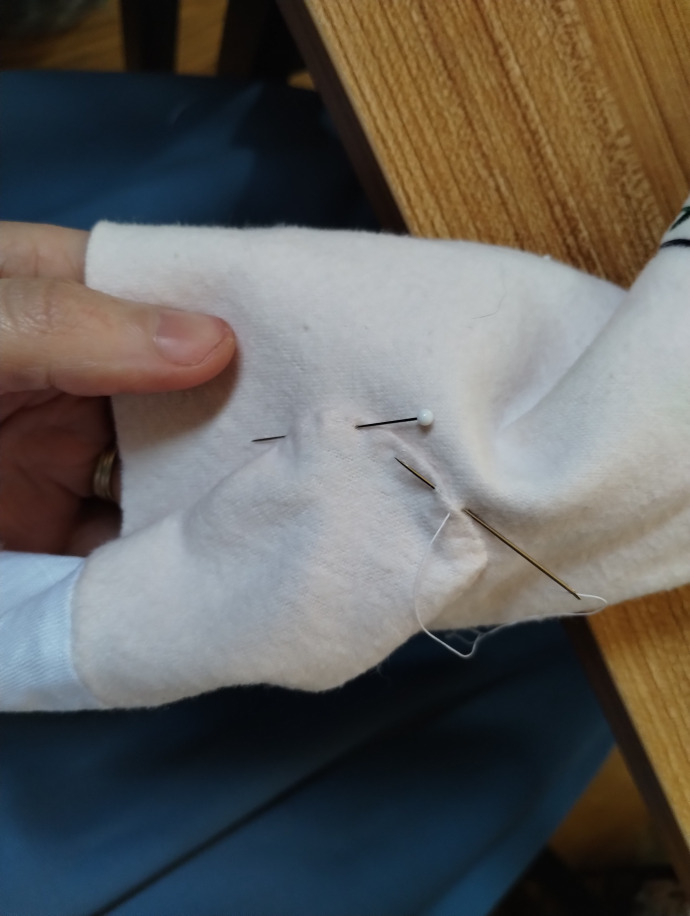
Tip: If you're having trouble getting the two pieces to match, it can be helpful to put the glove on at this point, seat the thumb where it's the most comfortable and pin it in place.
Turn the mitts inside out, put the thumb lining in place, turn the edge under, and whip the lining into place!
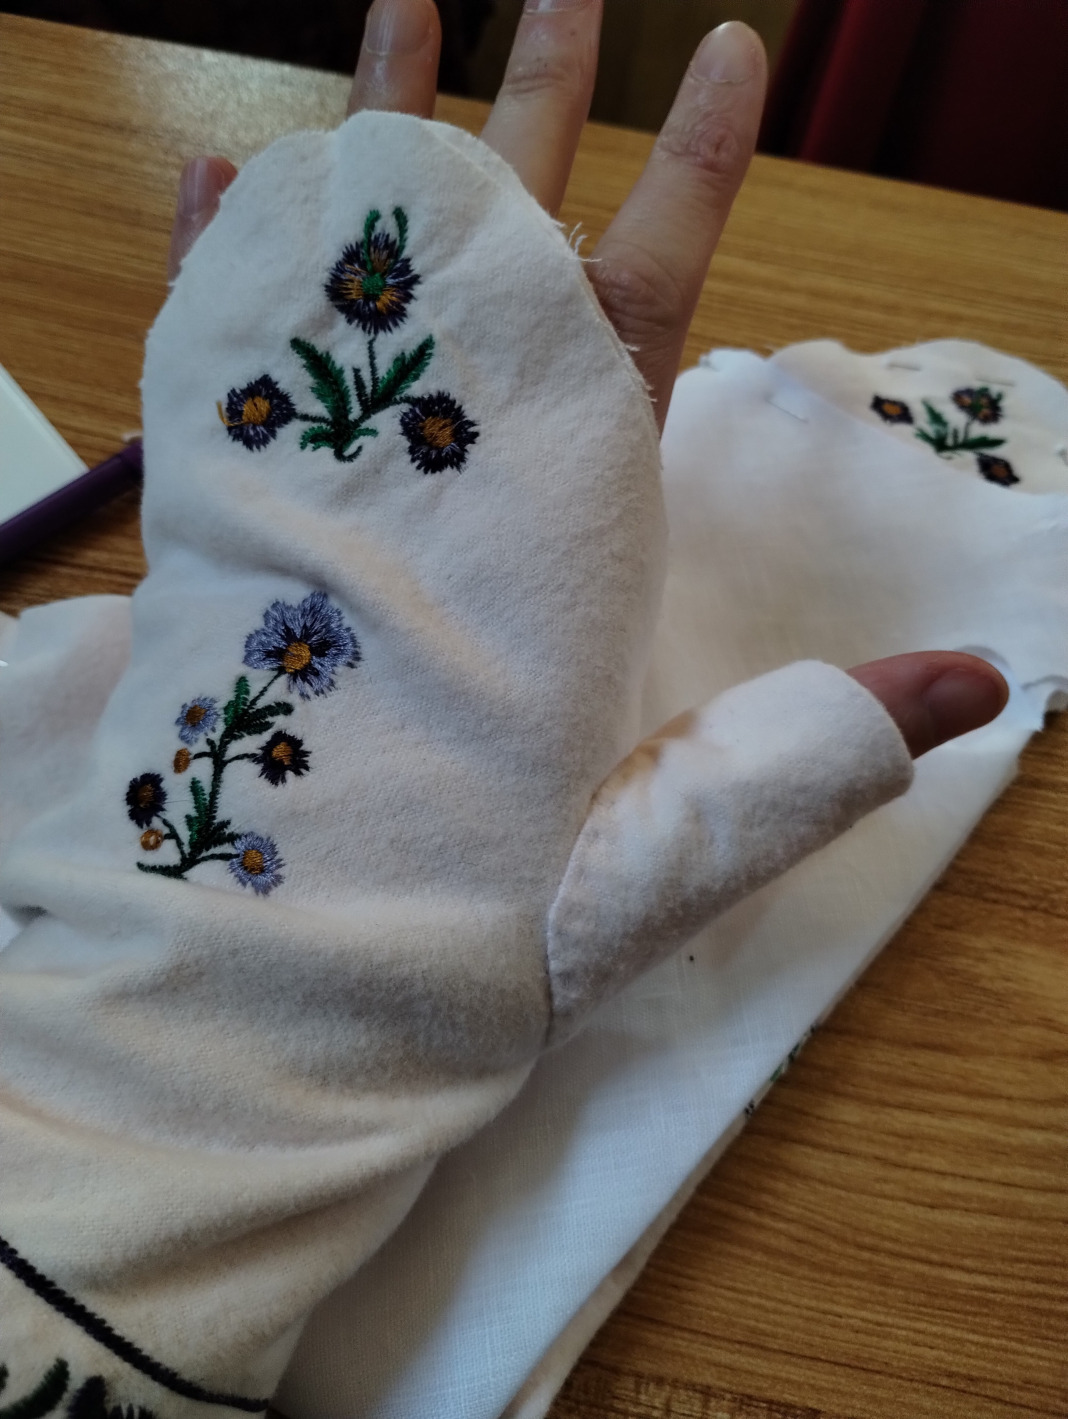
Congratulations, you did it! Thank you for supporting Peas Projects. I hope you loved making your mitts as much as I love embroidering them! I would absolutely love to see the mitts you make so tag me at @peasprojects on Facebook or Instagram.
If you're interested in other embroidered accessories, customized fabrics, colors, or fabrics (such as for waistcoats), please don't hesitate to get in touch!
Thank you very much!
Marianne Pease